☘️Pricing Table - User Guide
Install
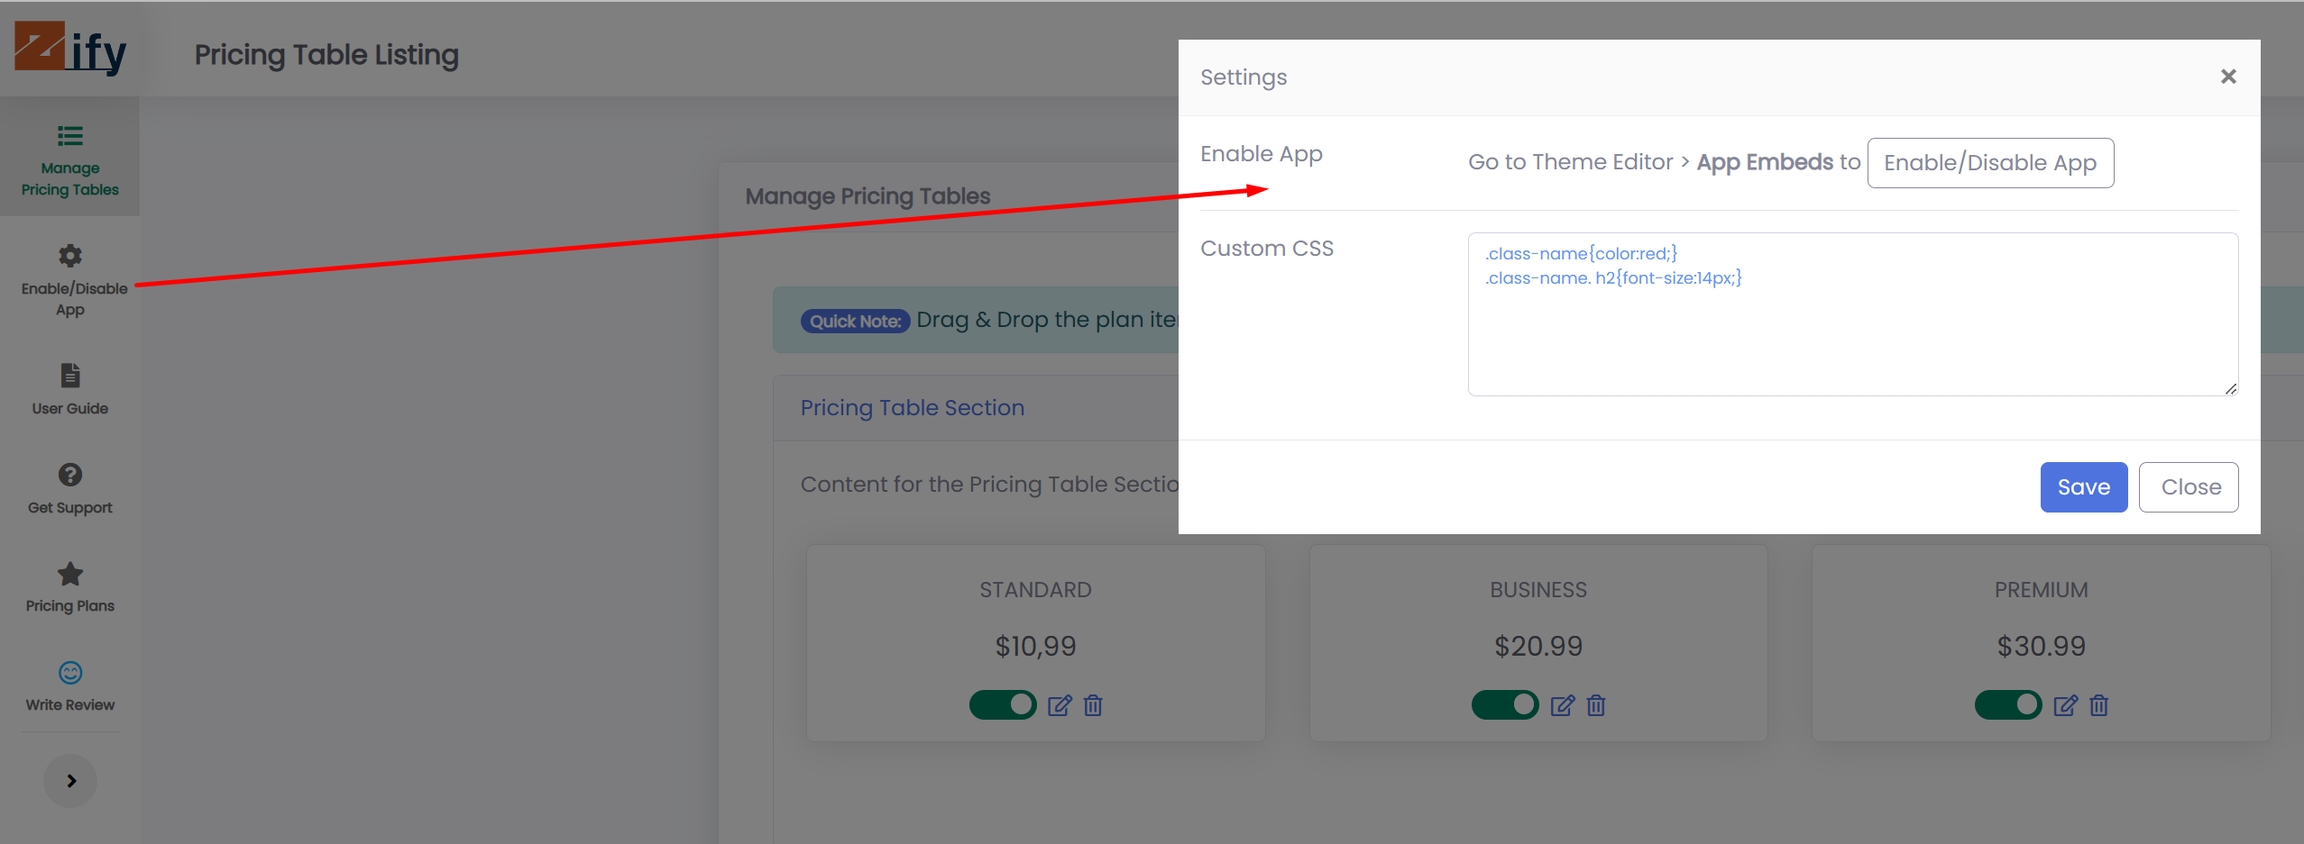
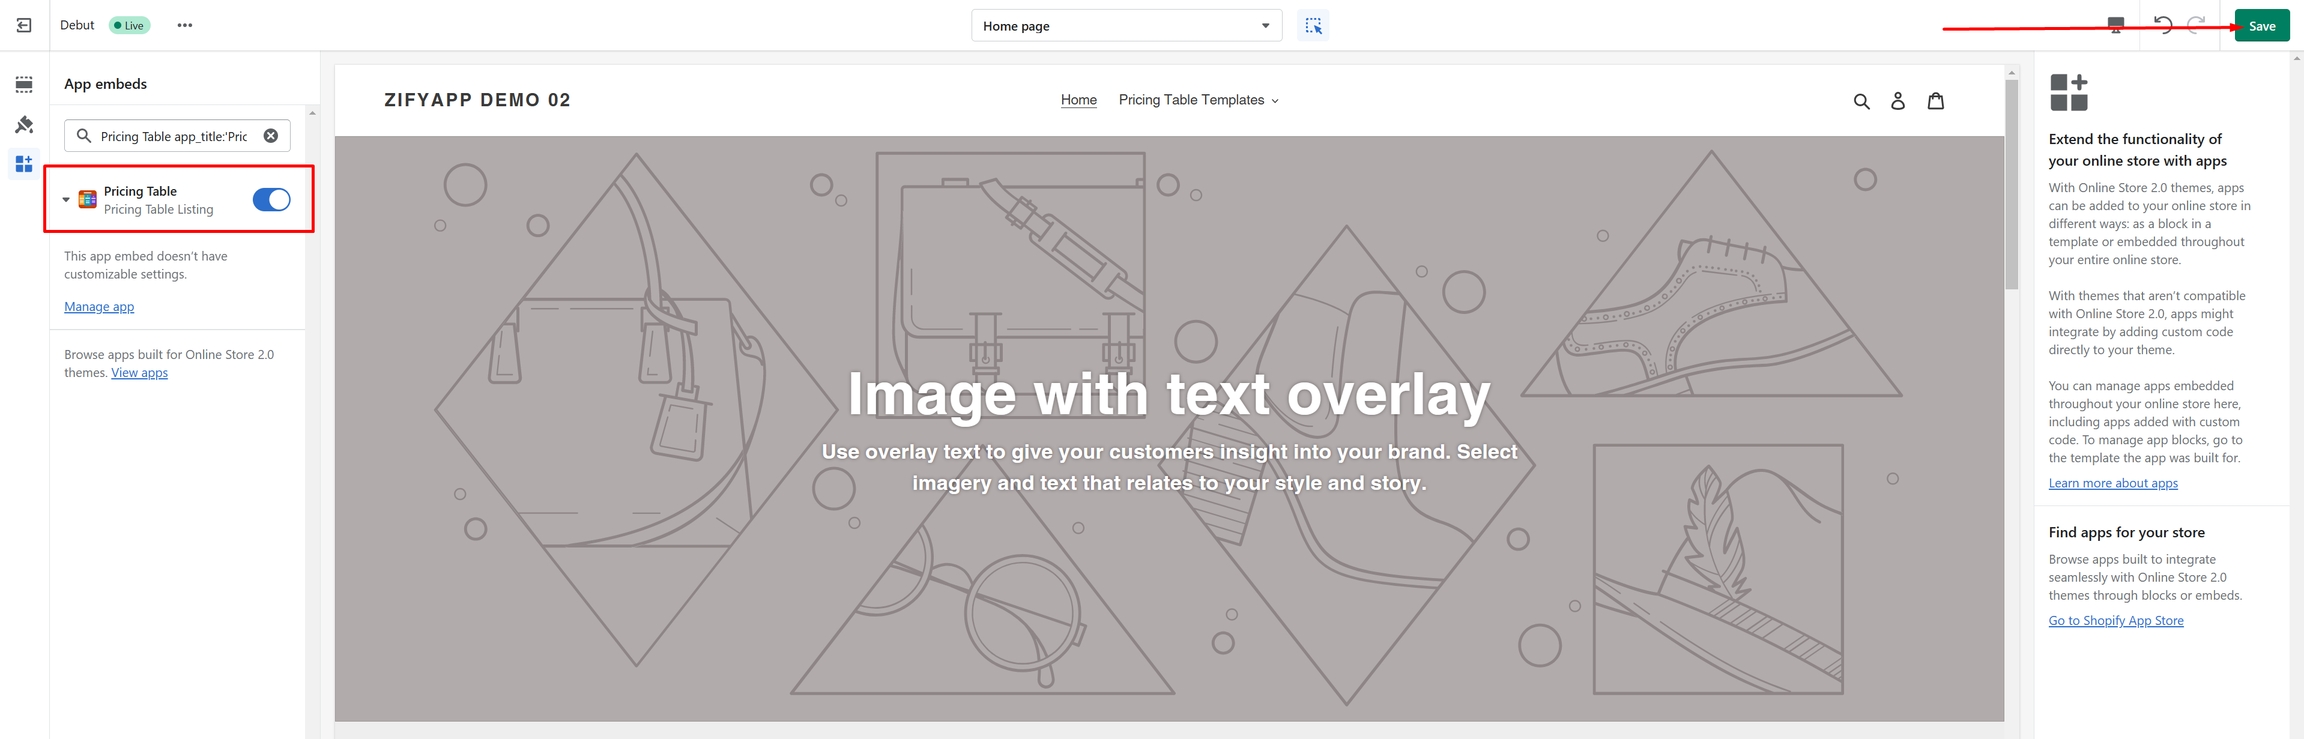
After installed our Pricing Table Listing app, the app will redirect you to the Manage Pricing Table screen. Please click the Enable/Disable app to enable the app.
Pricing Table Section
Add a pricing table section
From the Manage Pricing Tables, click the Add a pricing table section
Edit a pricing table section
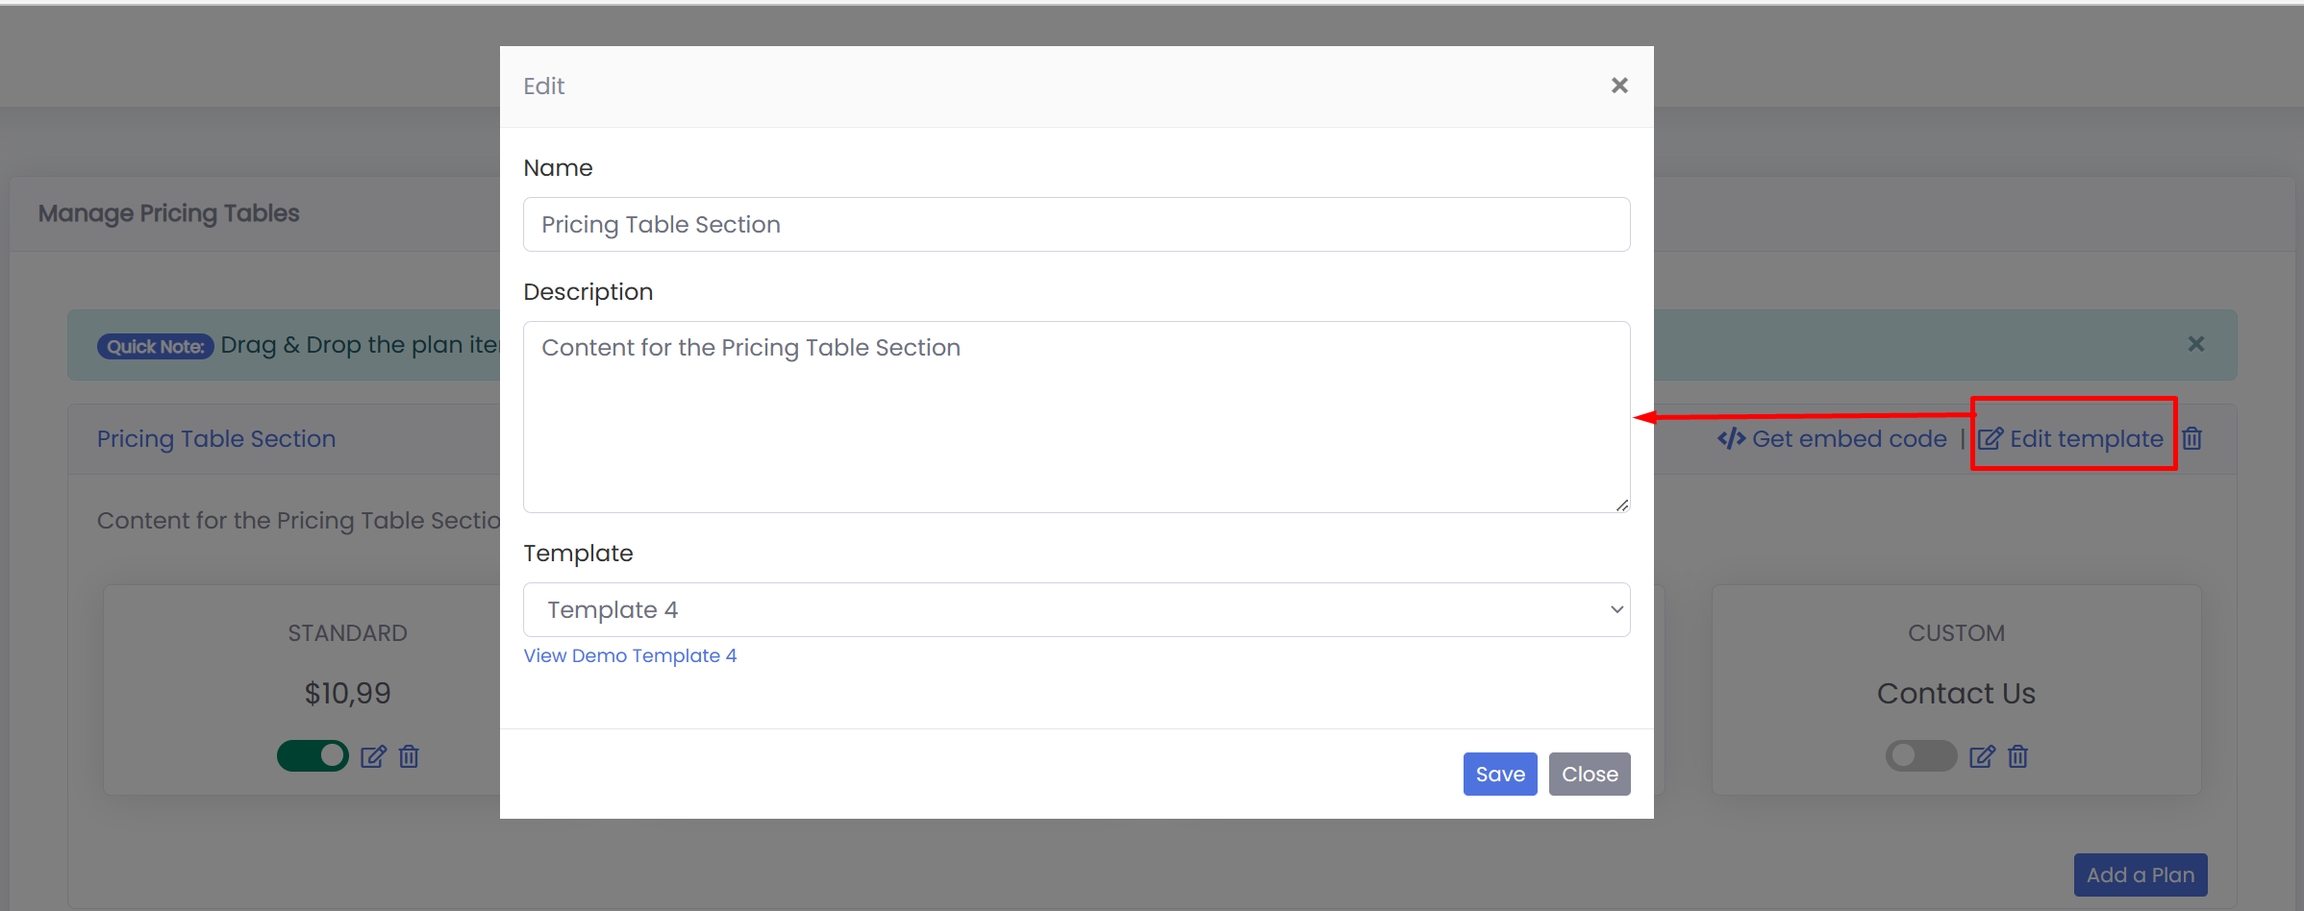
From the Manage Pricing Tables, click the Edit Template to change your Pricing Table Section Name, Description and Template, ...
Manage Plan items
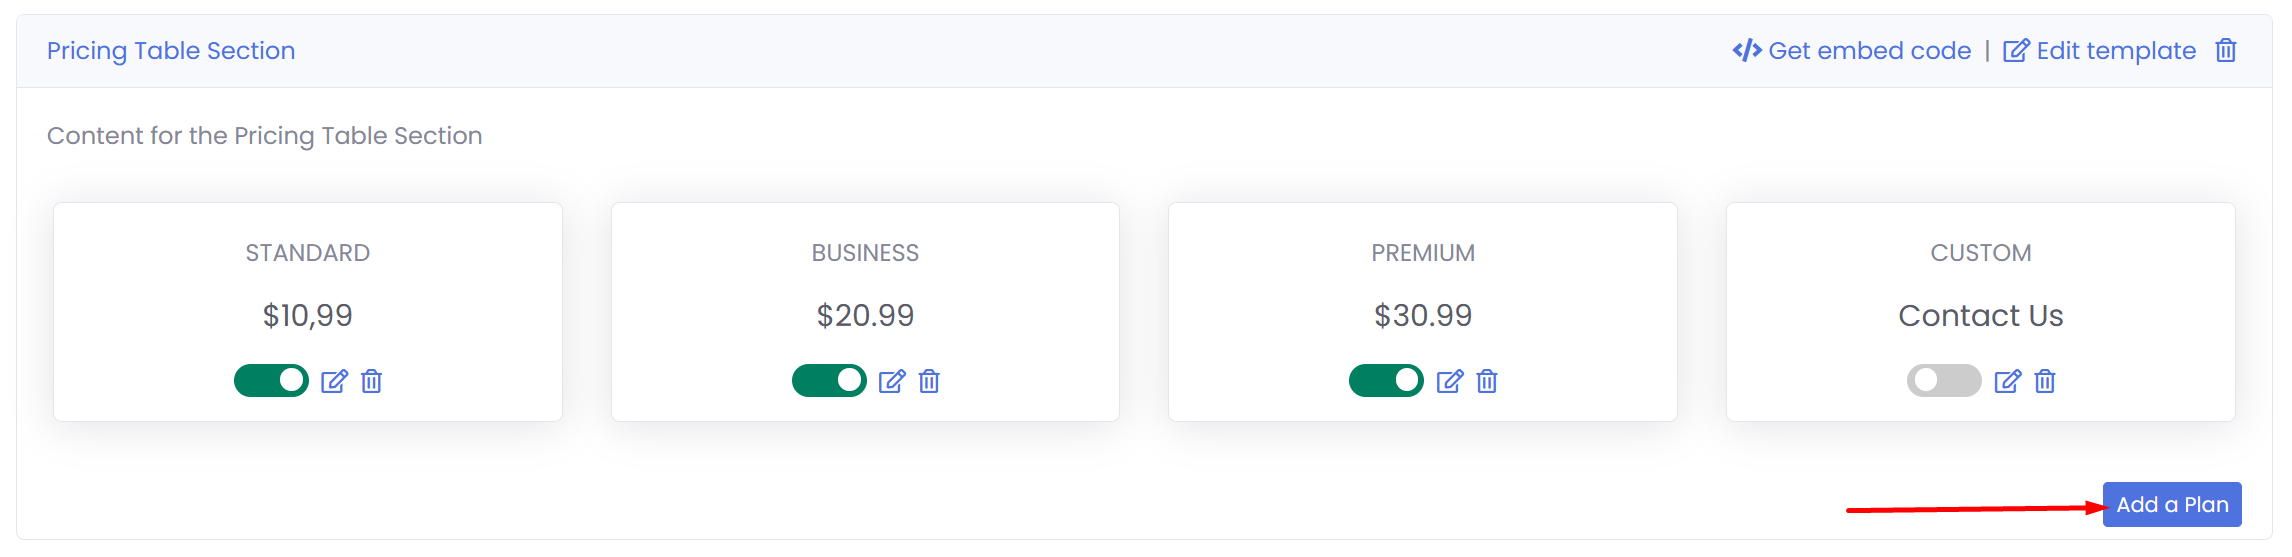
Add a Plan
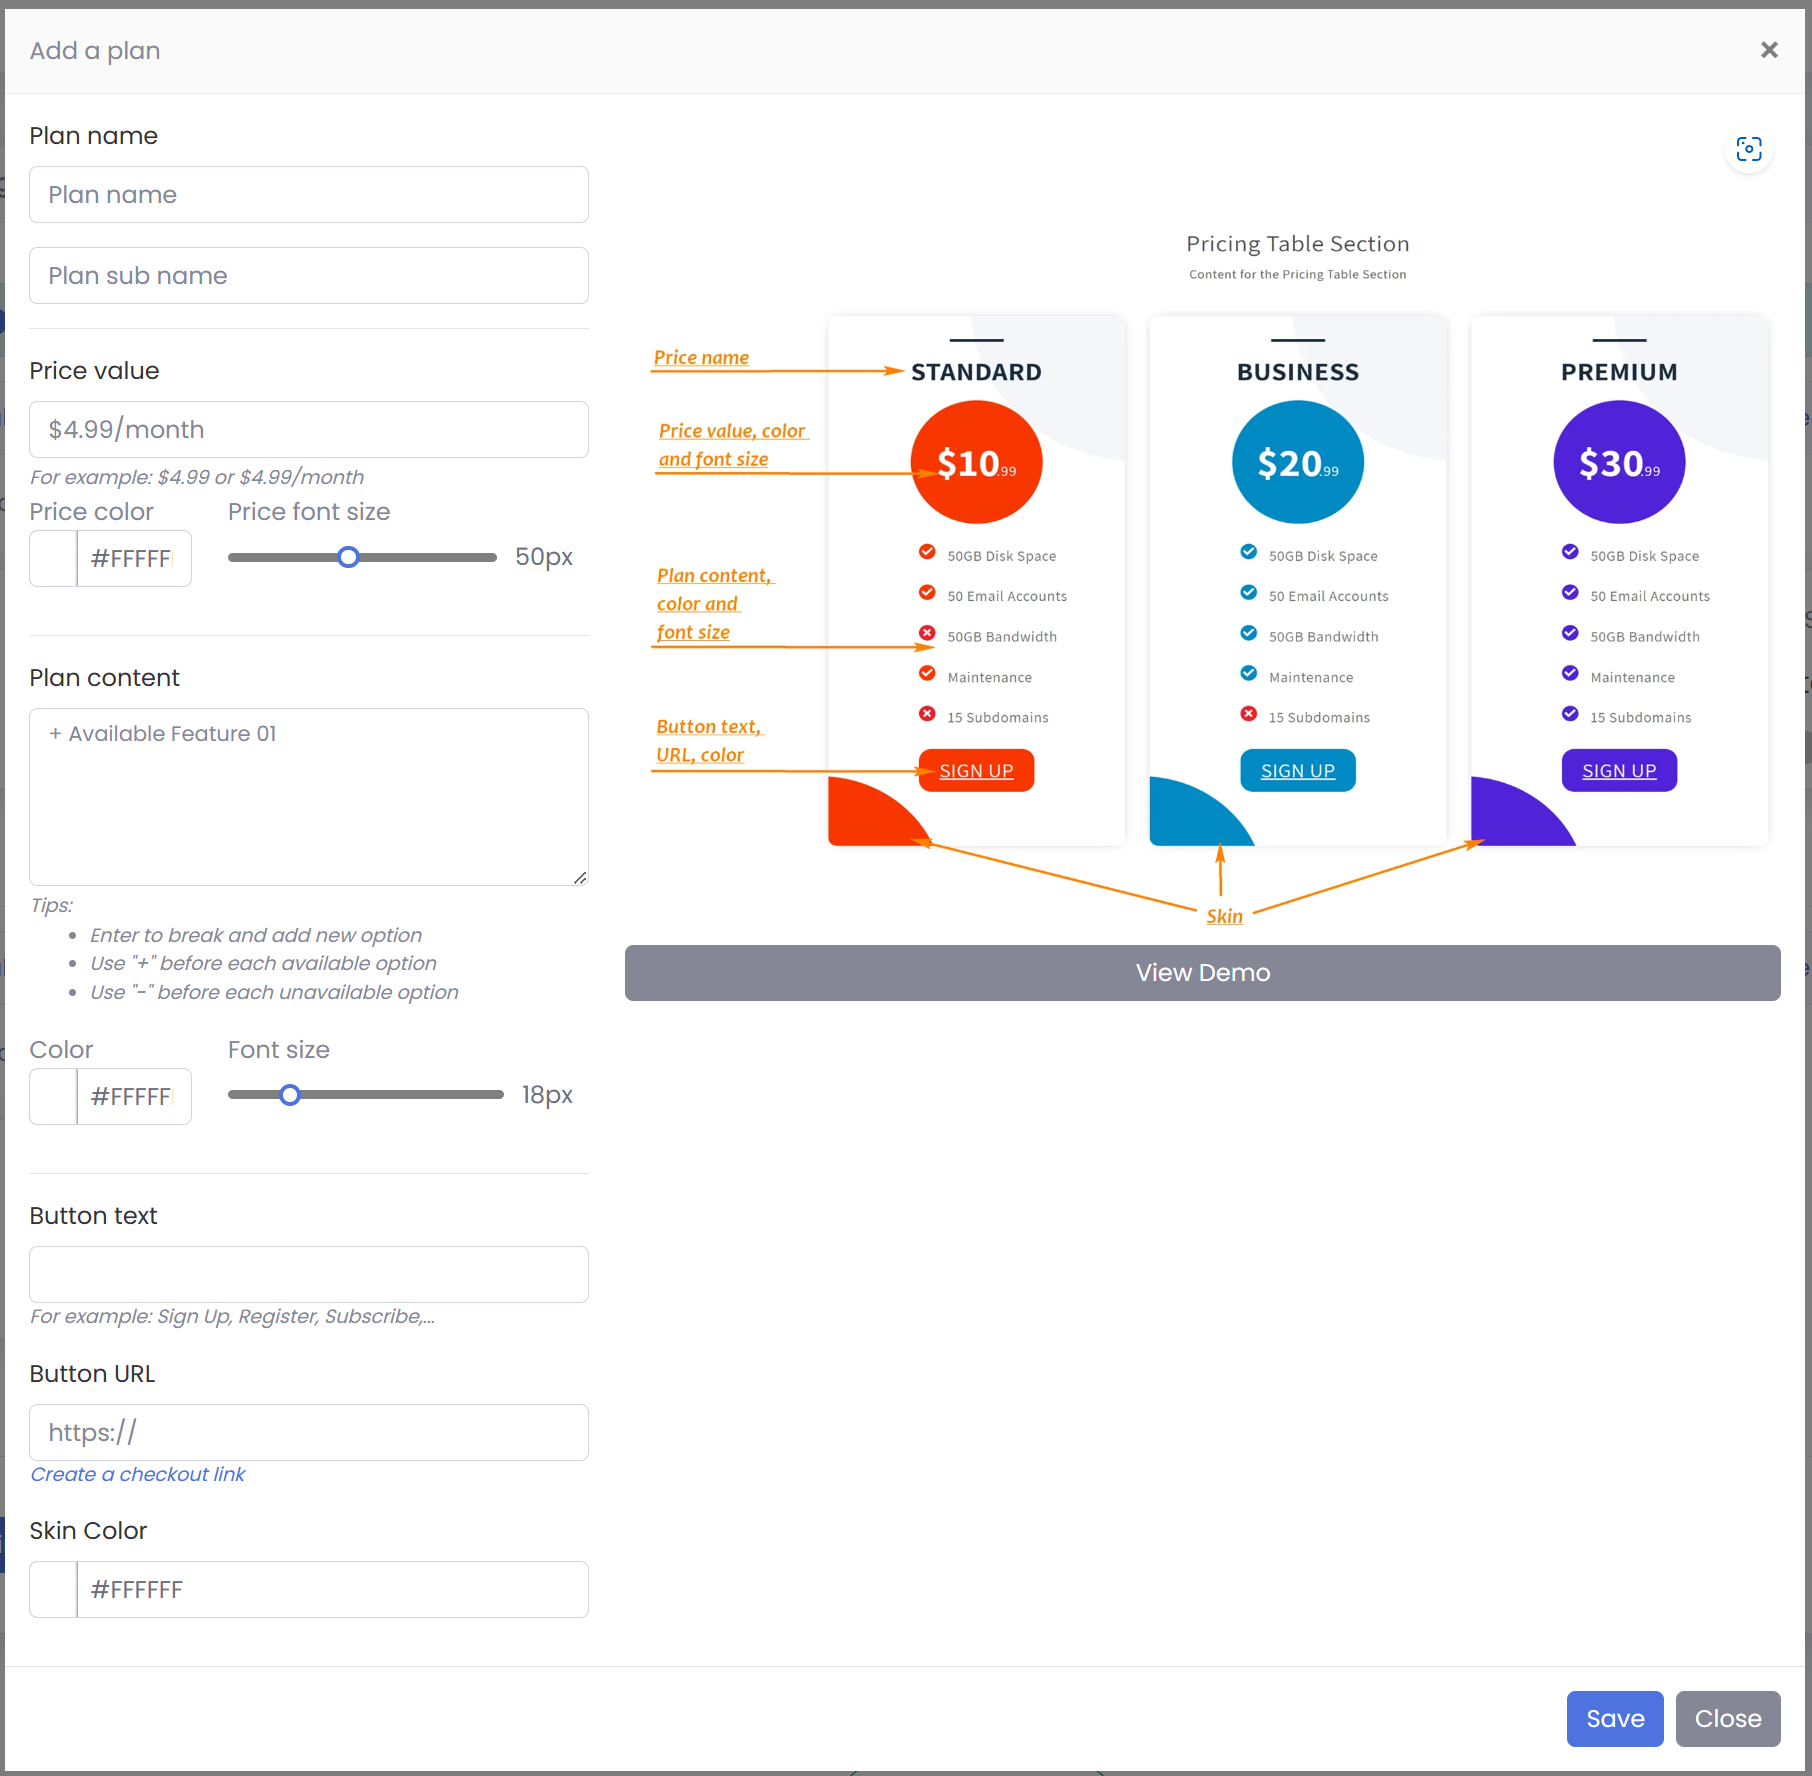
From the Manage Pricing Tables, click the Add a Plan button to add new a plan. Plan Name: Put your plan name, for example: STANDARD plan, Pro plan, ... Price value: Put price value, for example: $4.99 or $4.99/month. Content: Put the plan features
Enter to break and add new option
Use "+" before each available option
Use "-" before each unavailable option
Button Text: For example: Sign Up, Register, Subscribe,... Button URL: Linking the Button to the required page. Skin Color: Select Color for the plan. You can use this option to highlight the plan.
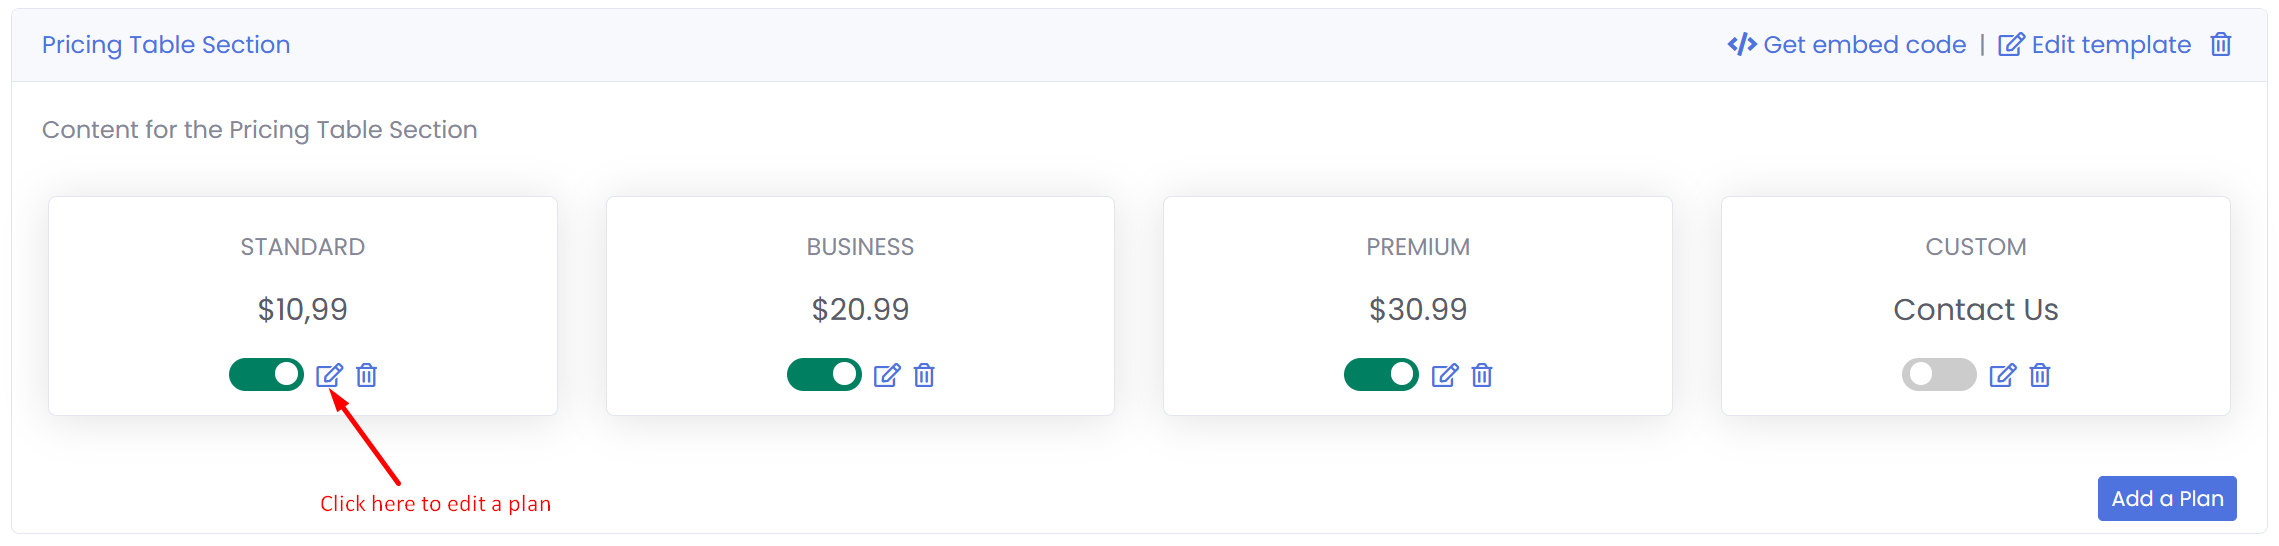
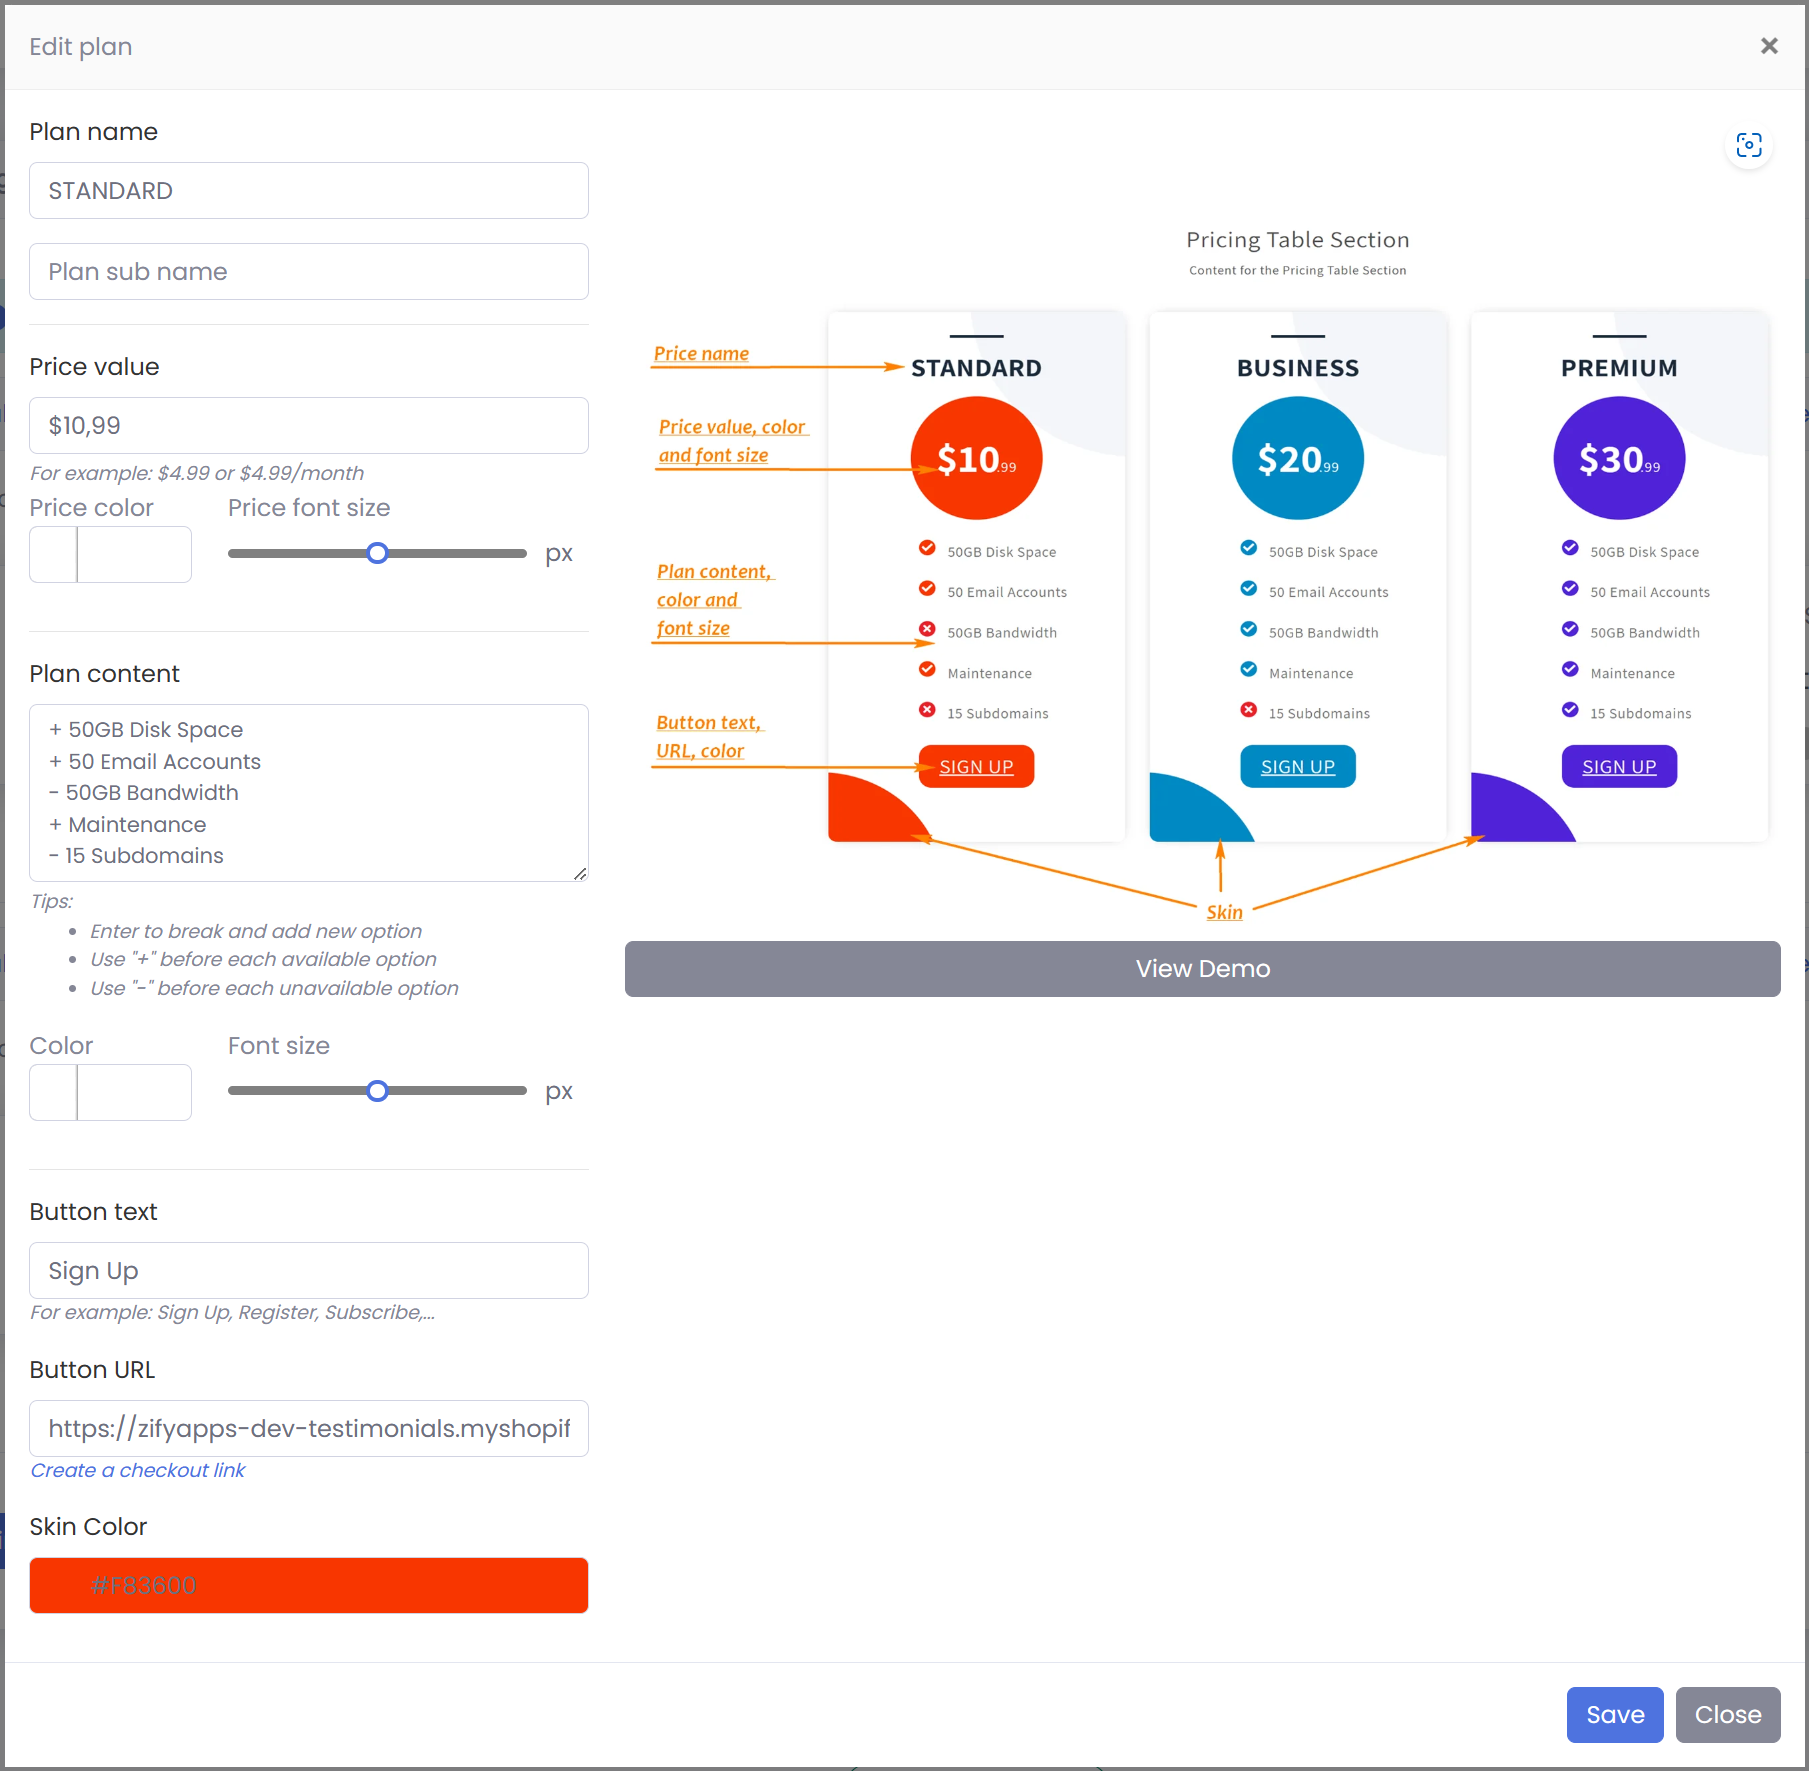
Edit a Plan
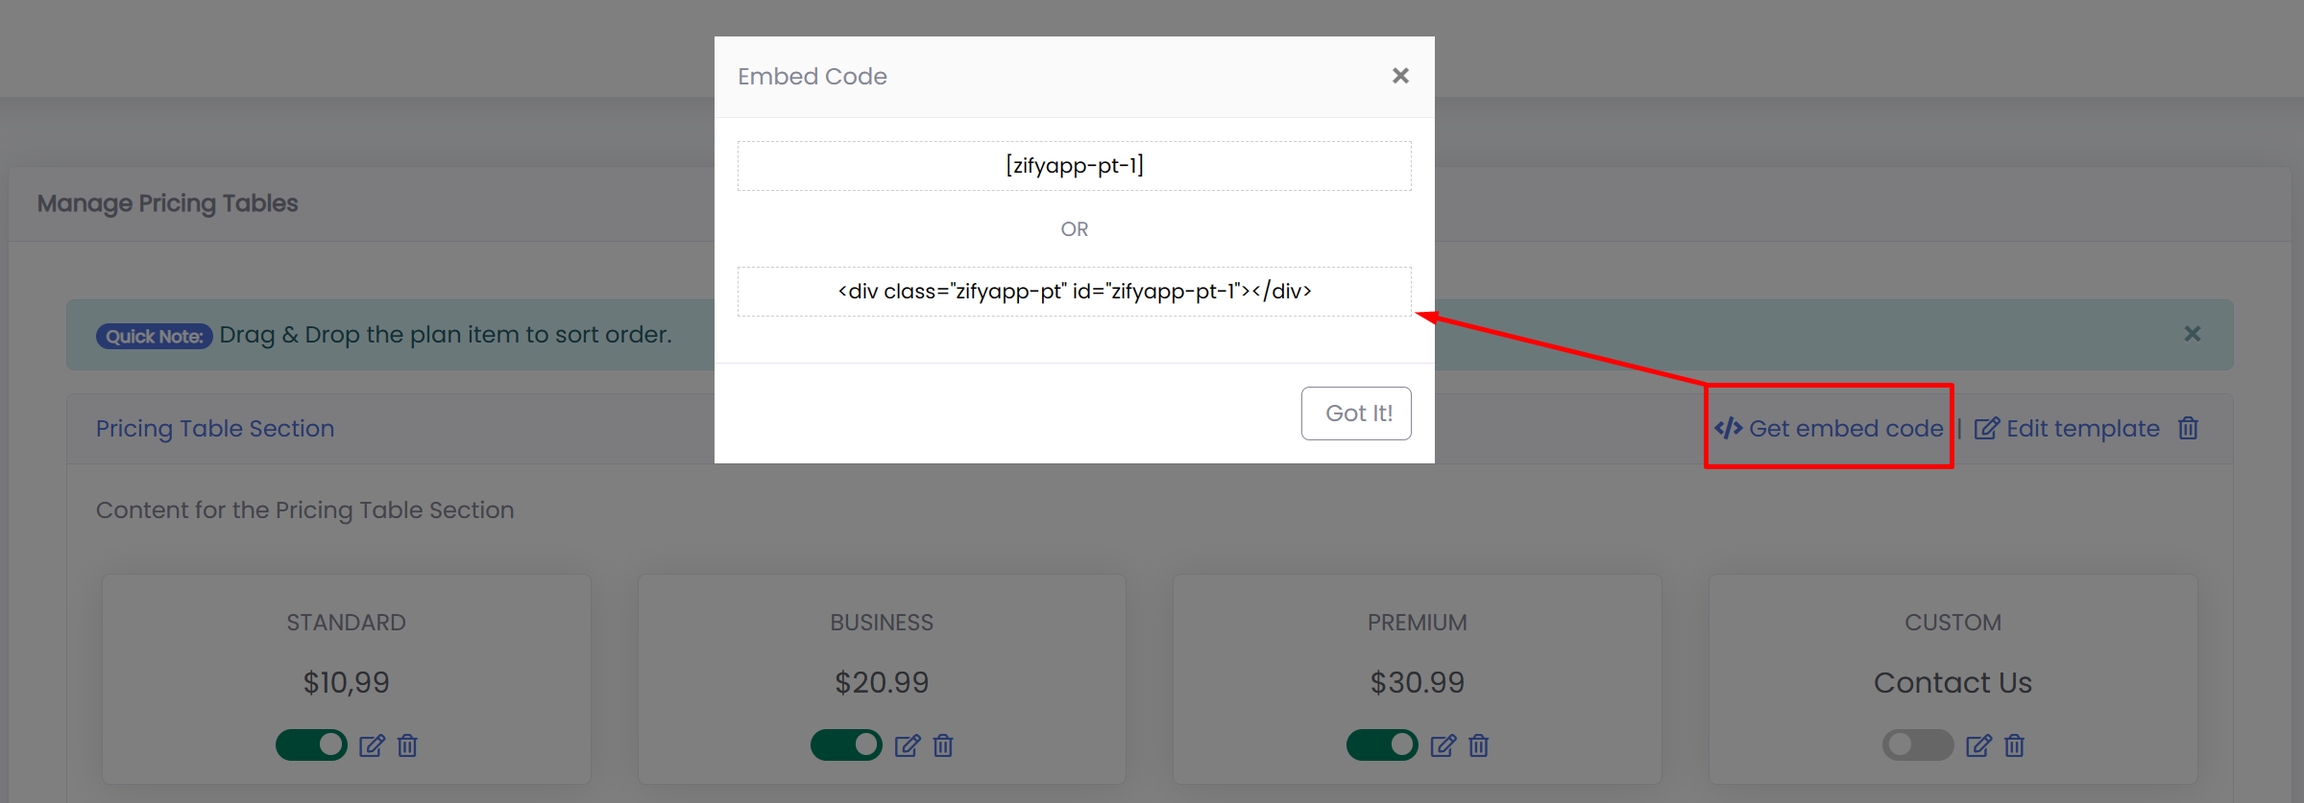
Embed Code
Click the Get Embed Code to copy the embedded code.
Use the embedded code and paste it into any page, section on your store.
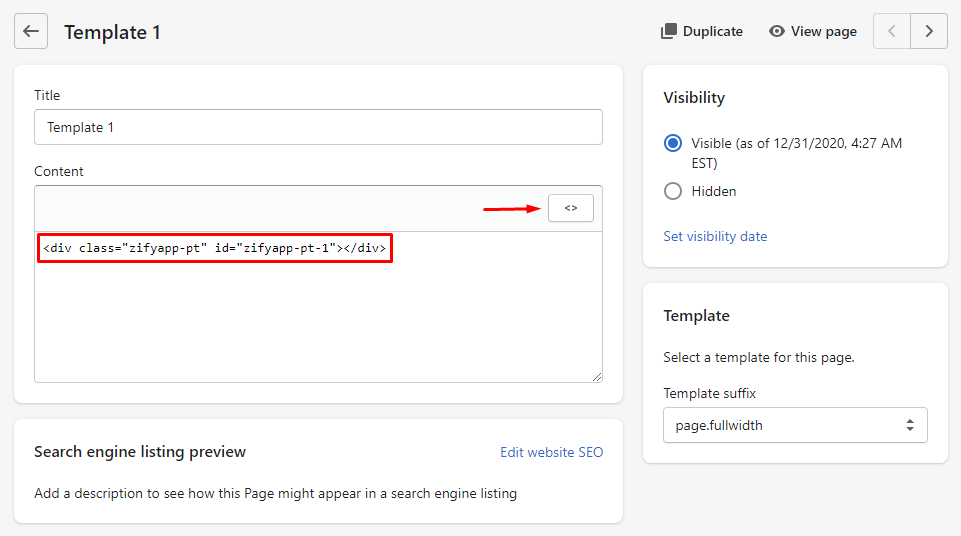
Show on Page: Go to Online Store > Pages: add or edit a page.
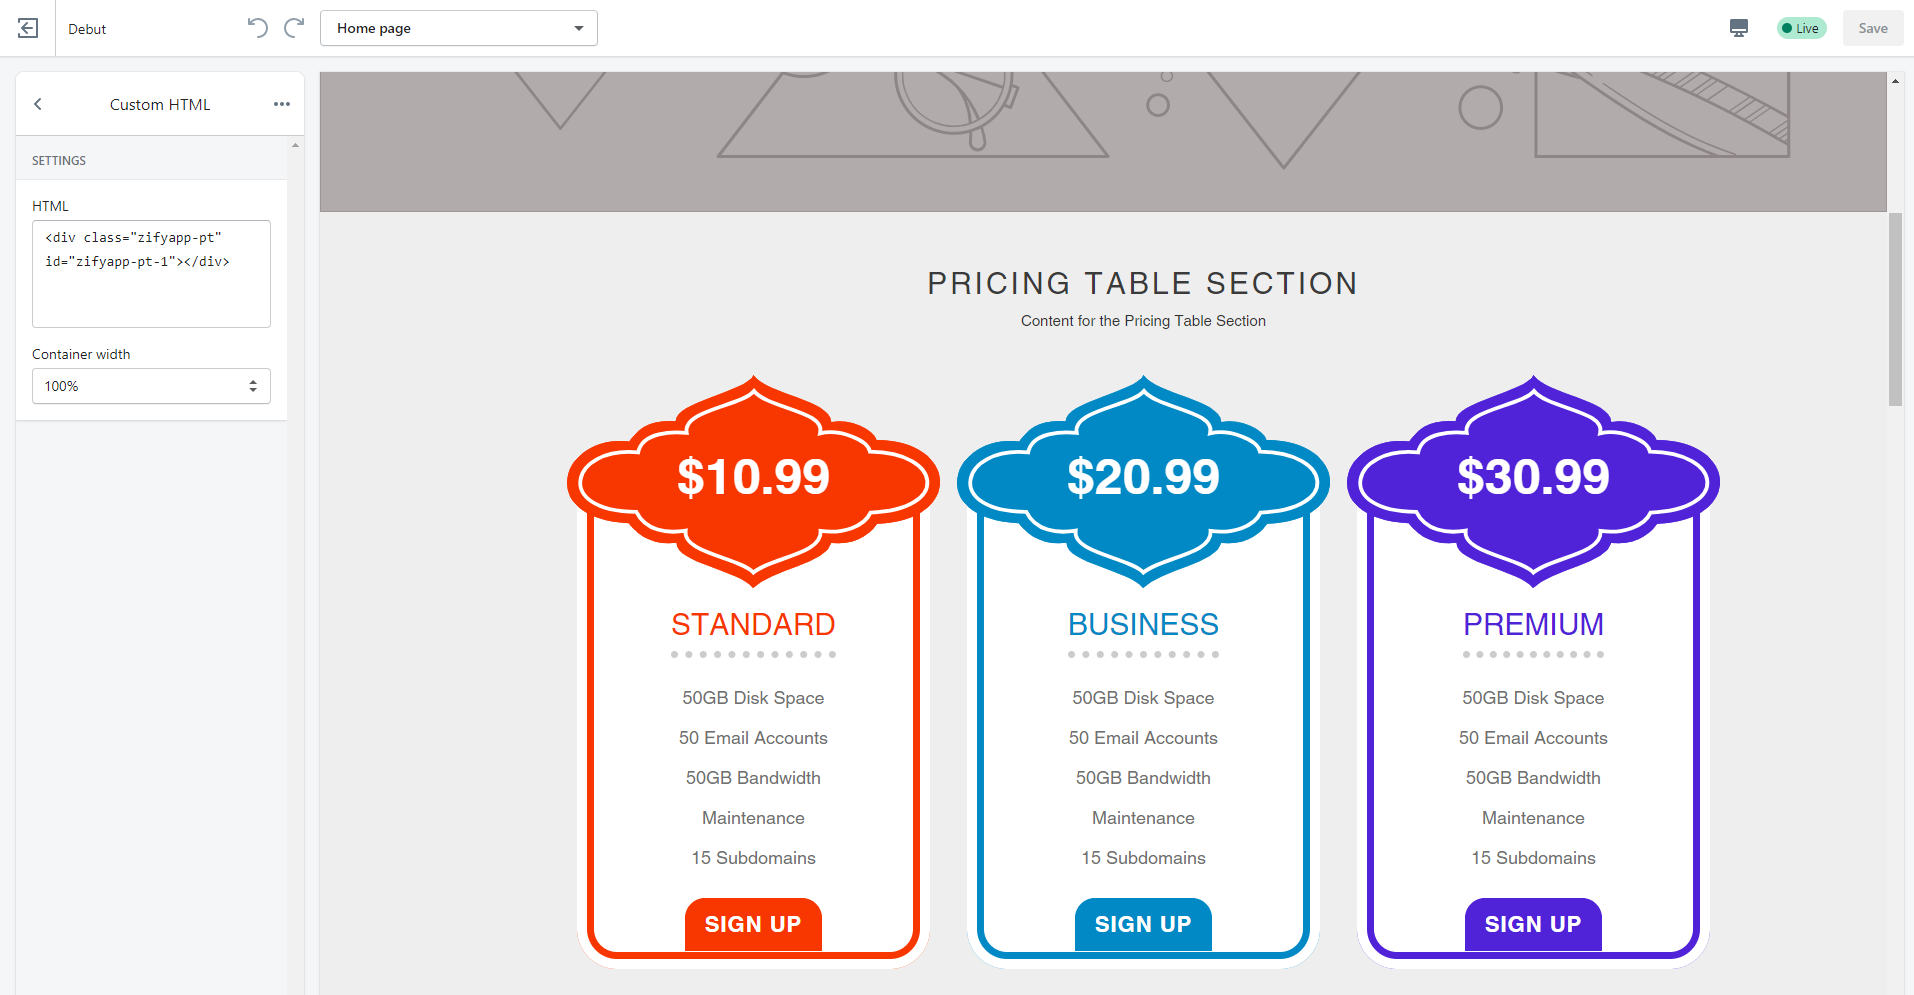
Show on Home Page Section: Go to Online Store > Themes: click the "Customize" button, select Home Page, add a custom HTML section and paste the embedded code. See the screenshot below:
Uninstall
From your store admin, go to Settings > Apps and sales channels > Pricing Table Listing > Uninstall
Last updated